How do I connect my YouTube channel to social posters?
Introduction
YouTube is the world’s leading video platform and one of the best ways to build a brand, showcase products, and connect with a community. Companies, content creators and self-employed people use YouTube to expand their reach and build long-term customer loyalty. By integrating YouTube with social posters, you can efficiently schedule and upload videos automatically without having to log in manually.
1. Benefits of connecting with social posters:
✔ Automatically upload videos to yourYouTube channel including shorts
✔ Pre-planning video uploads for a consistent content strategy
✔ Unified management of social media channels
✔ Time savings through automation
2. Requirements
Before you can connect your YouTube account to social posters, make sure you meet the following requirements:
✅You need a YouTube channelPrivate Google accounts without a channel cannot be connected.
✅You need a Social Poster Premium or VIP packageYouTube is not included in the Social Poster Business package.
✅Permissions for YouTube must be authorized through the Google API.
✅The YouTube account must give social posters access to content uploading.
Note:YouTube currently only allows third-party tools to upload regular videos and shorts. Livestreams cannot be published automatically.
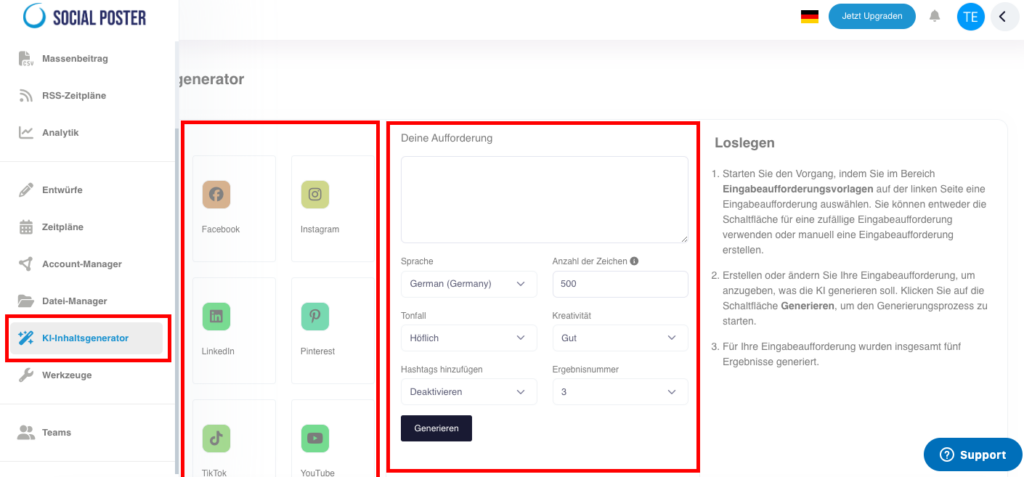
3. Step-by-step instructions for connection
How to connect your YouTube account to social posters
Sign in to Social Poster and navigate to the Account Manager.
Click Add YouTube channel from the account list on the left or click Add Account in the YouTube field on the right.
4. Possible problems & solutions
❌Error message: YouTube account not found
➡Solution:Make sure your Google account has aYouTube channelYou have social posters thatnecessary permissionshave granted.
❌Videos are not uploaded
➡Solution:Check if your YouTube account is stillConnectedIt is and whether youAPI access rightshave correctly granted.
❌Connection is regularly disconnected
➡Solution:Google demands oneAgain confirmationafter a certain time. Log in again in to social posters and reconnect.
❌Error message: Permissions missing
➡Solution:Check if you all requestedAuthorizations grantedhave your Google account through theNecessary security settingshas.
5. Special hints
YouTube only allows you to upload regular videos and shorts via the APILivestreams are currently not supported.
Video uploads must meet certain formatsMake sure your videos are uploaded in MP4 format and resolution.
Interactions such as likes, comments or subscriptions cannot be automated. .
Regular connection renewal is requiredGoogle uses security measures for third-party tools.
Tip:If you manage multiple YouTube channels, you can also connect them to social posters and manage them centrally in the dashboard.